Account setting
Seller Portal is used by Seller to create and manage fulfillment locations and products. Seller must finish setting up their account via invited email before they can access to all tabs on Seller Portal.
Register account
As an invited seller, I am able to set up my account on seller portal
-
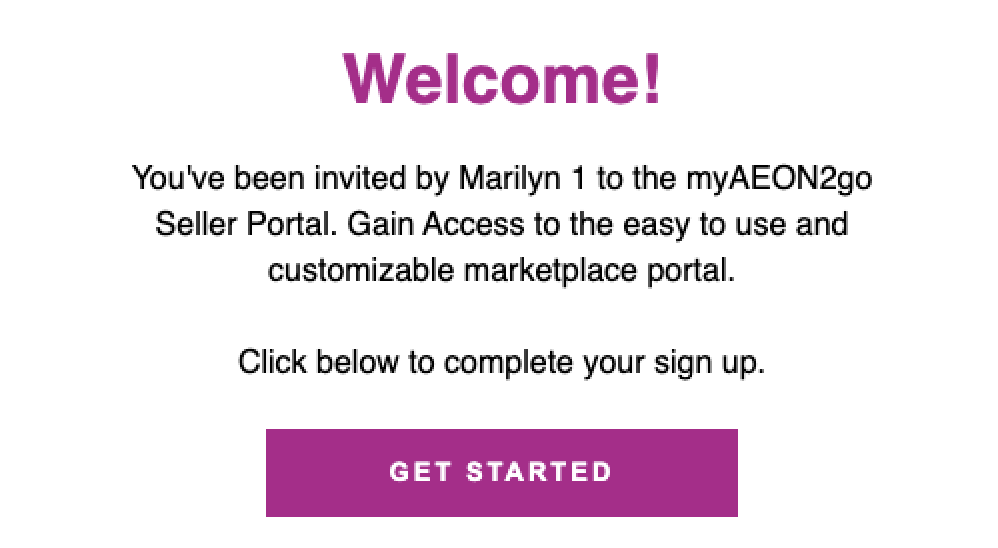
Receive email titled Welcome to Seller Portal
- Select GET STARTED to complete email sign up
-
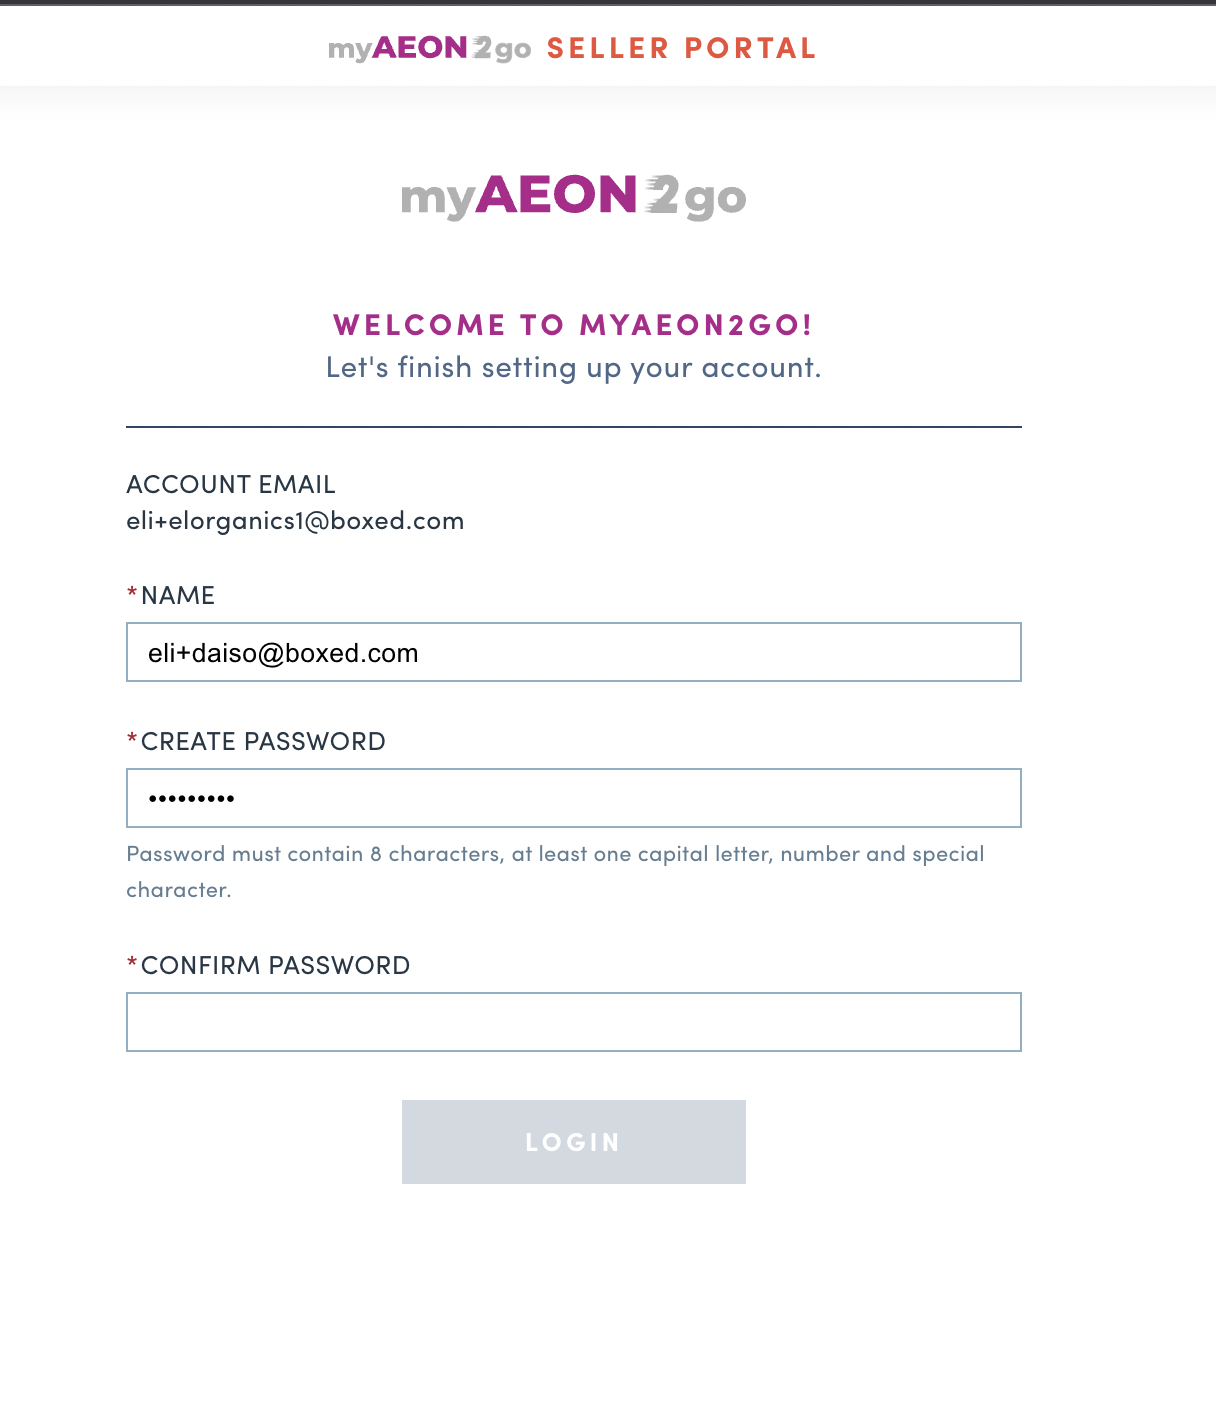
Upon receiving email, set up account with
NameandPassword -
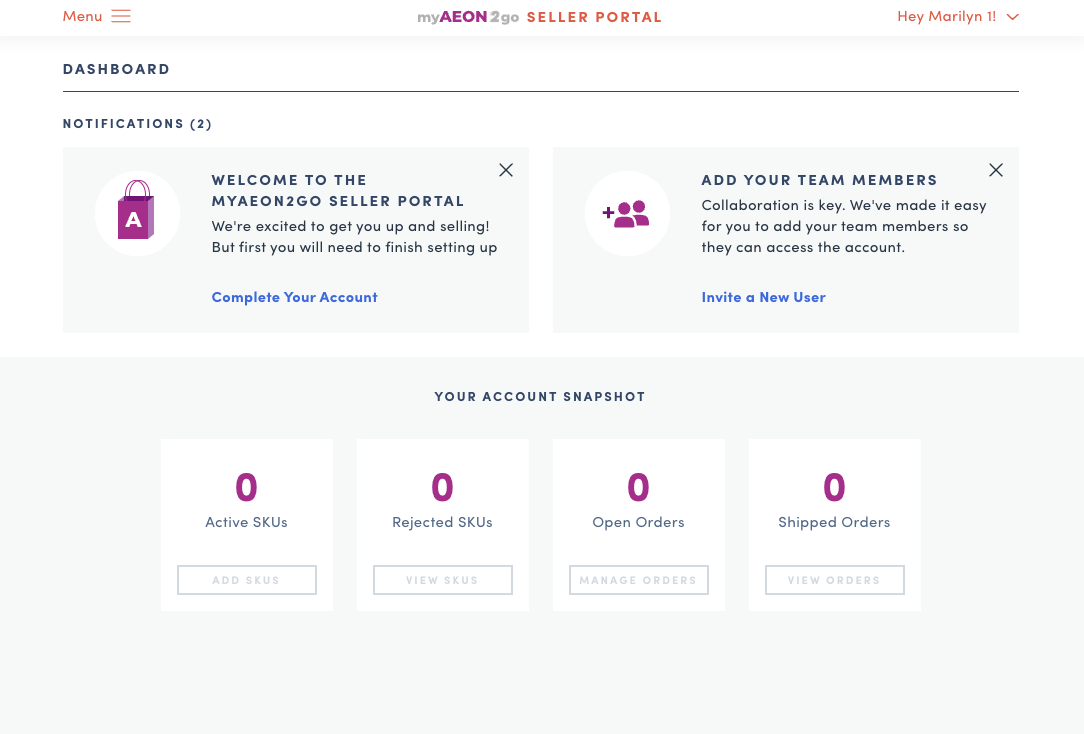
Click on
Complete Your Accountunder Notifications
-
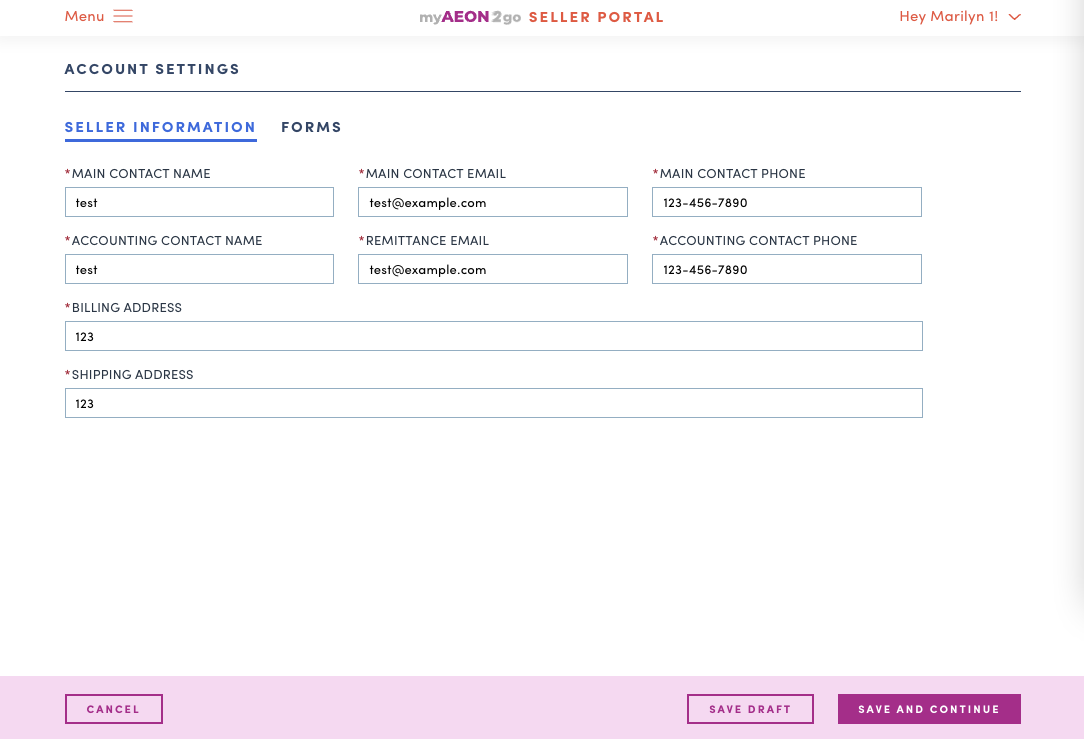
Insert all required seller information and complete form
-
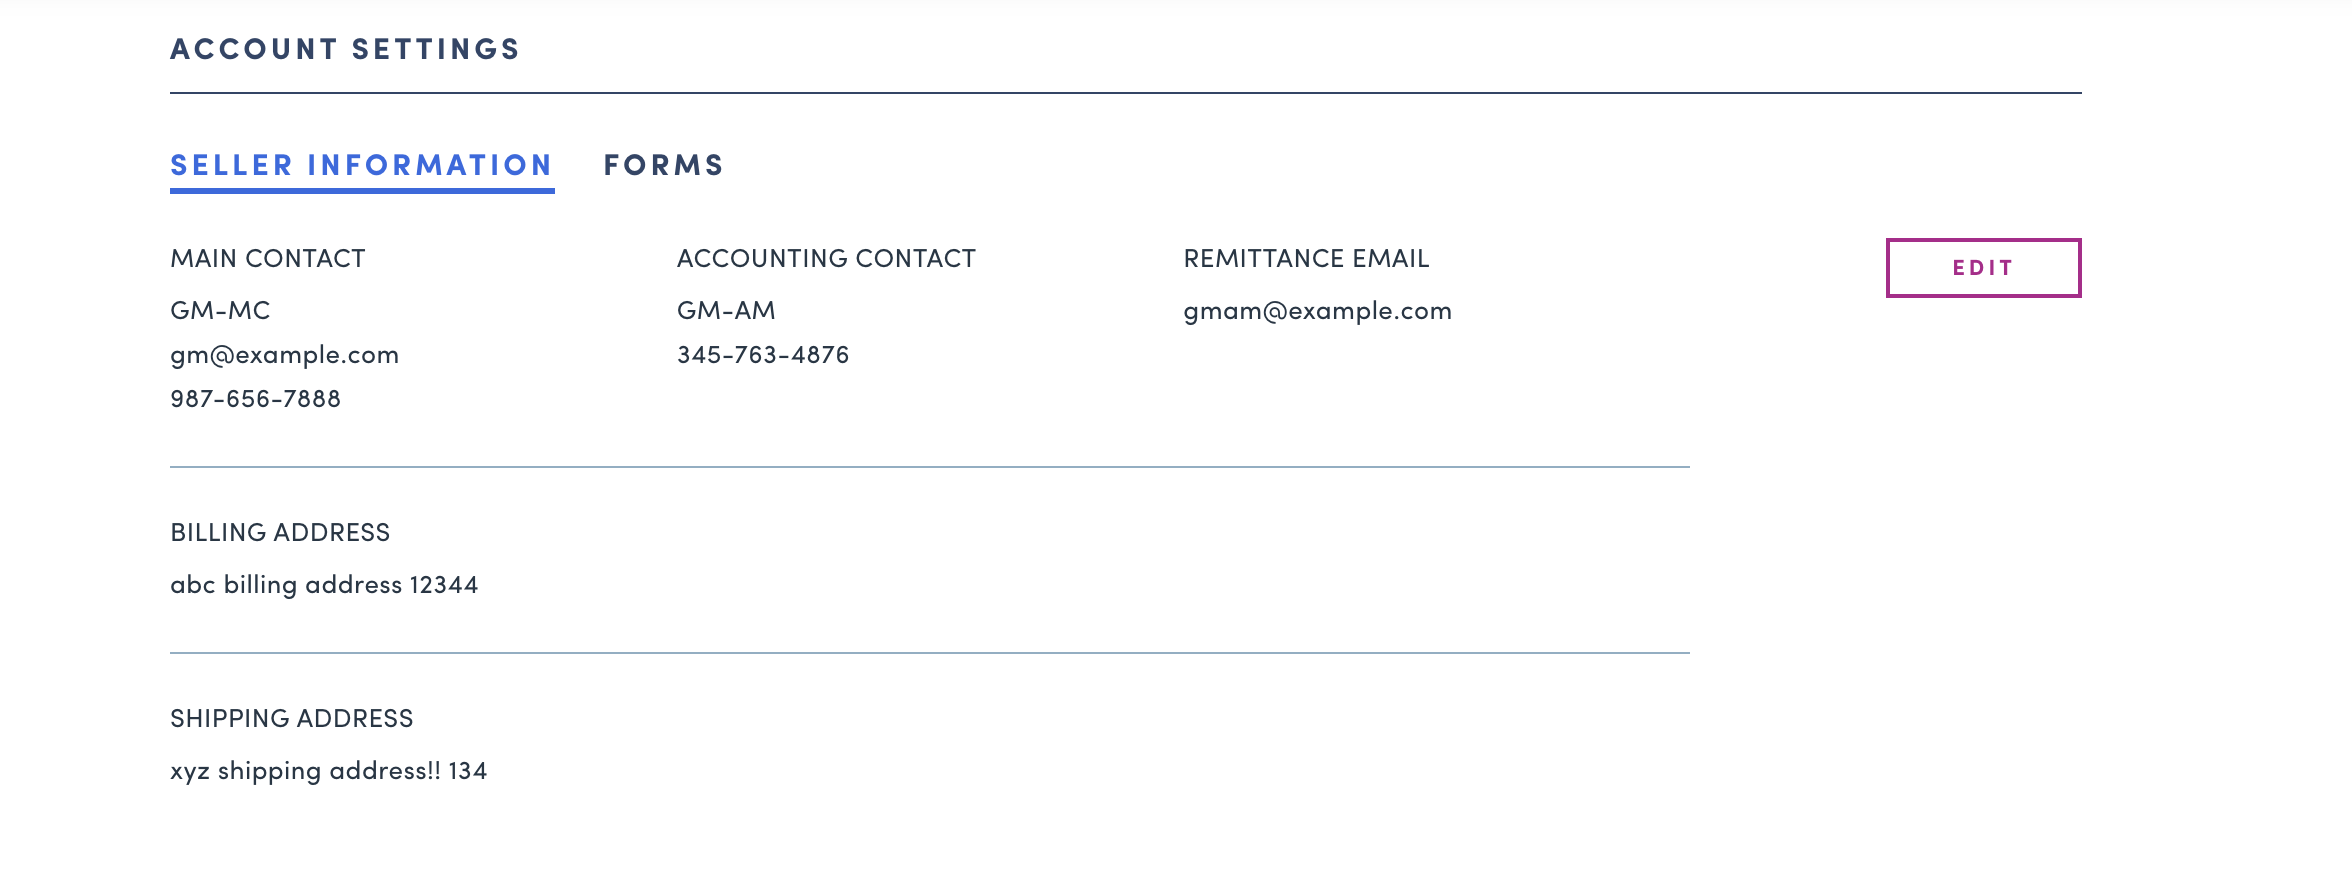
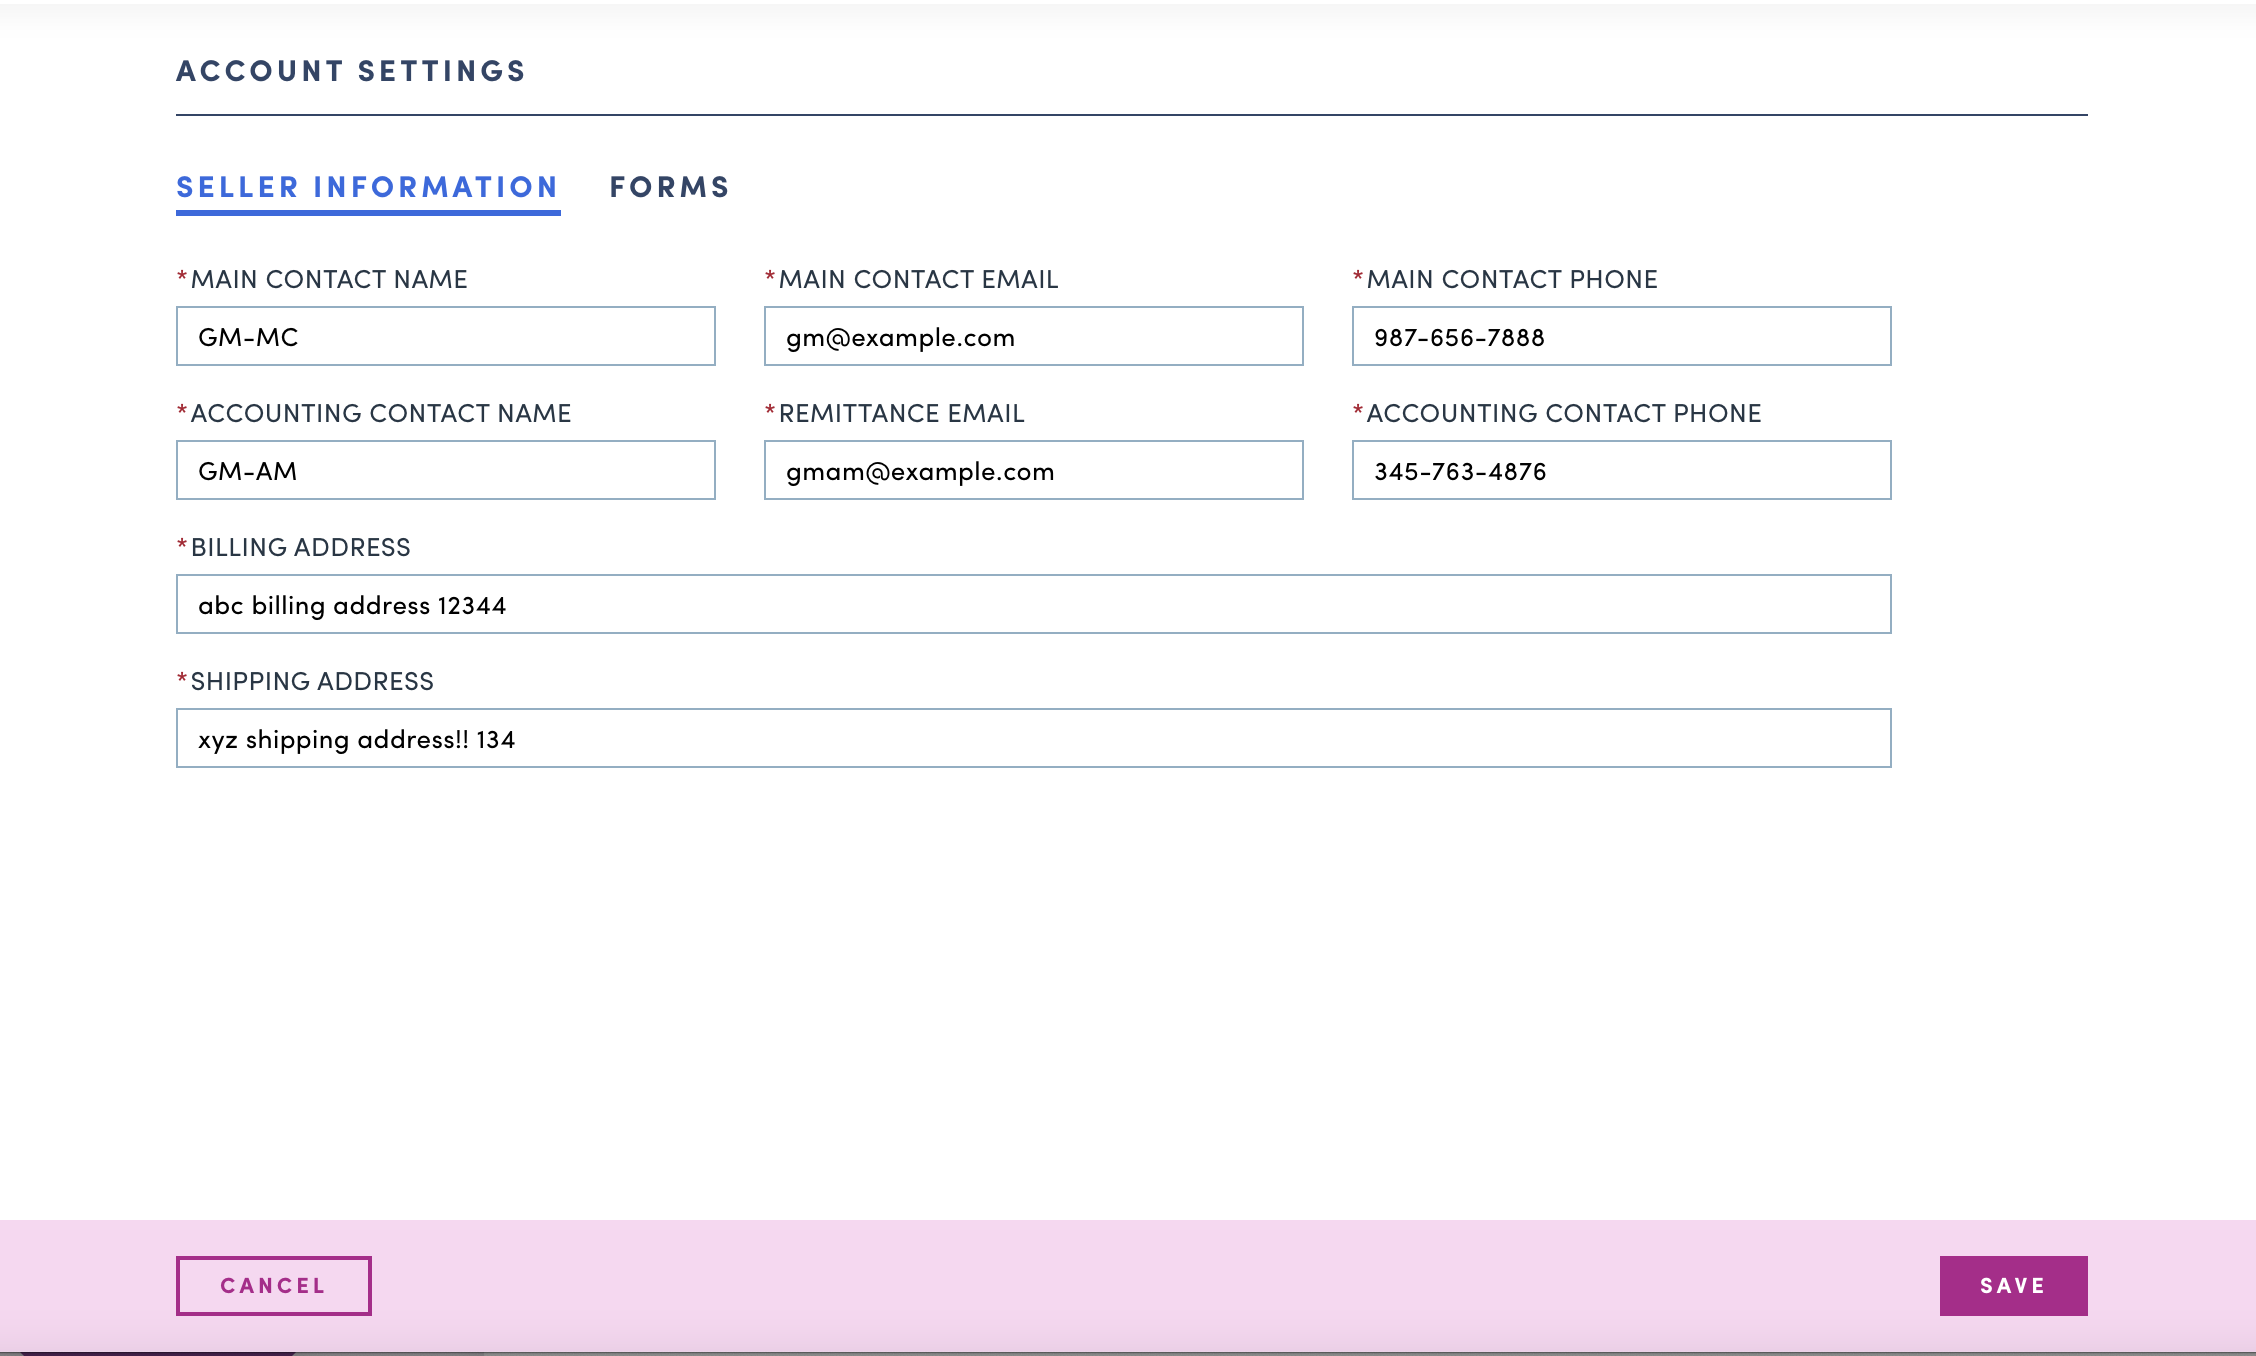
Seller information (All are required fields)
- Main Contact Name
- Main Contact Email
- Main Contact Phone
- Accounting Contact Name
- Remittance Email
- Accounting Contact Phone
- Billing Address
- Shipping Address
-
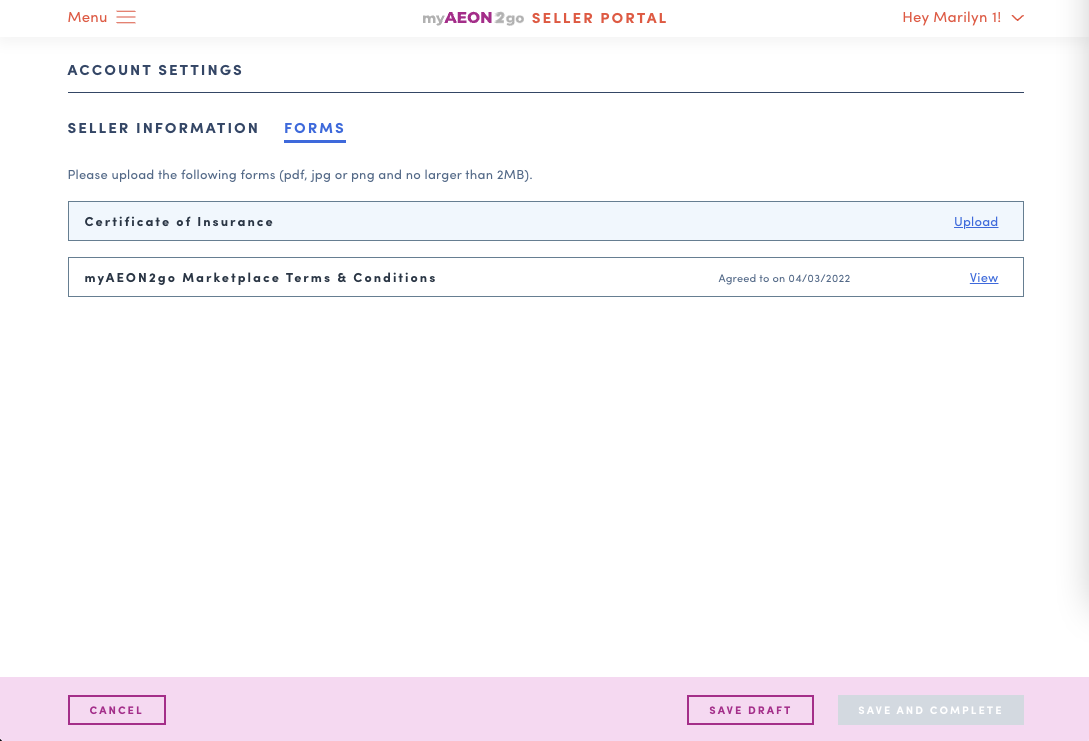
Forms
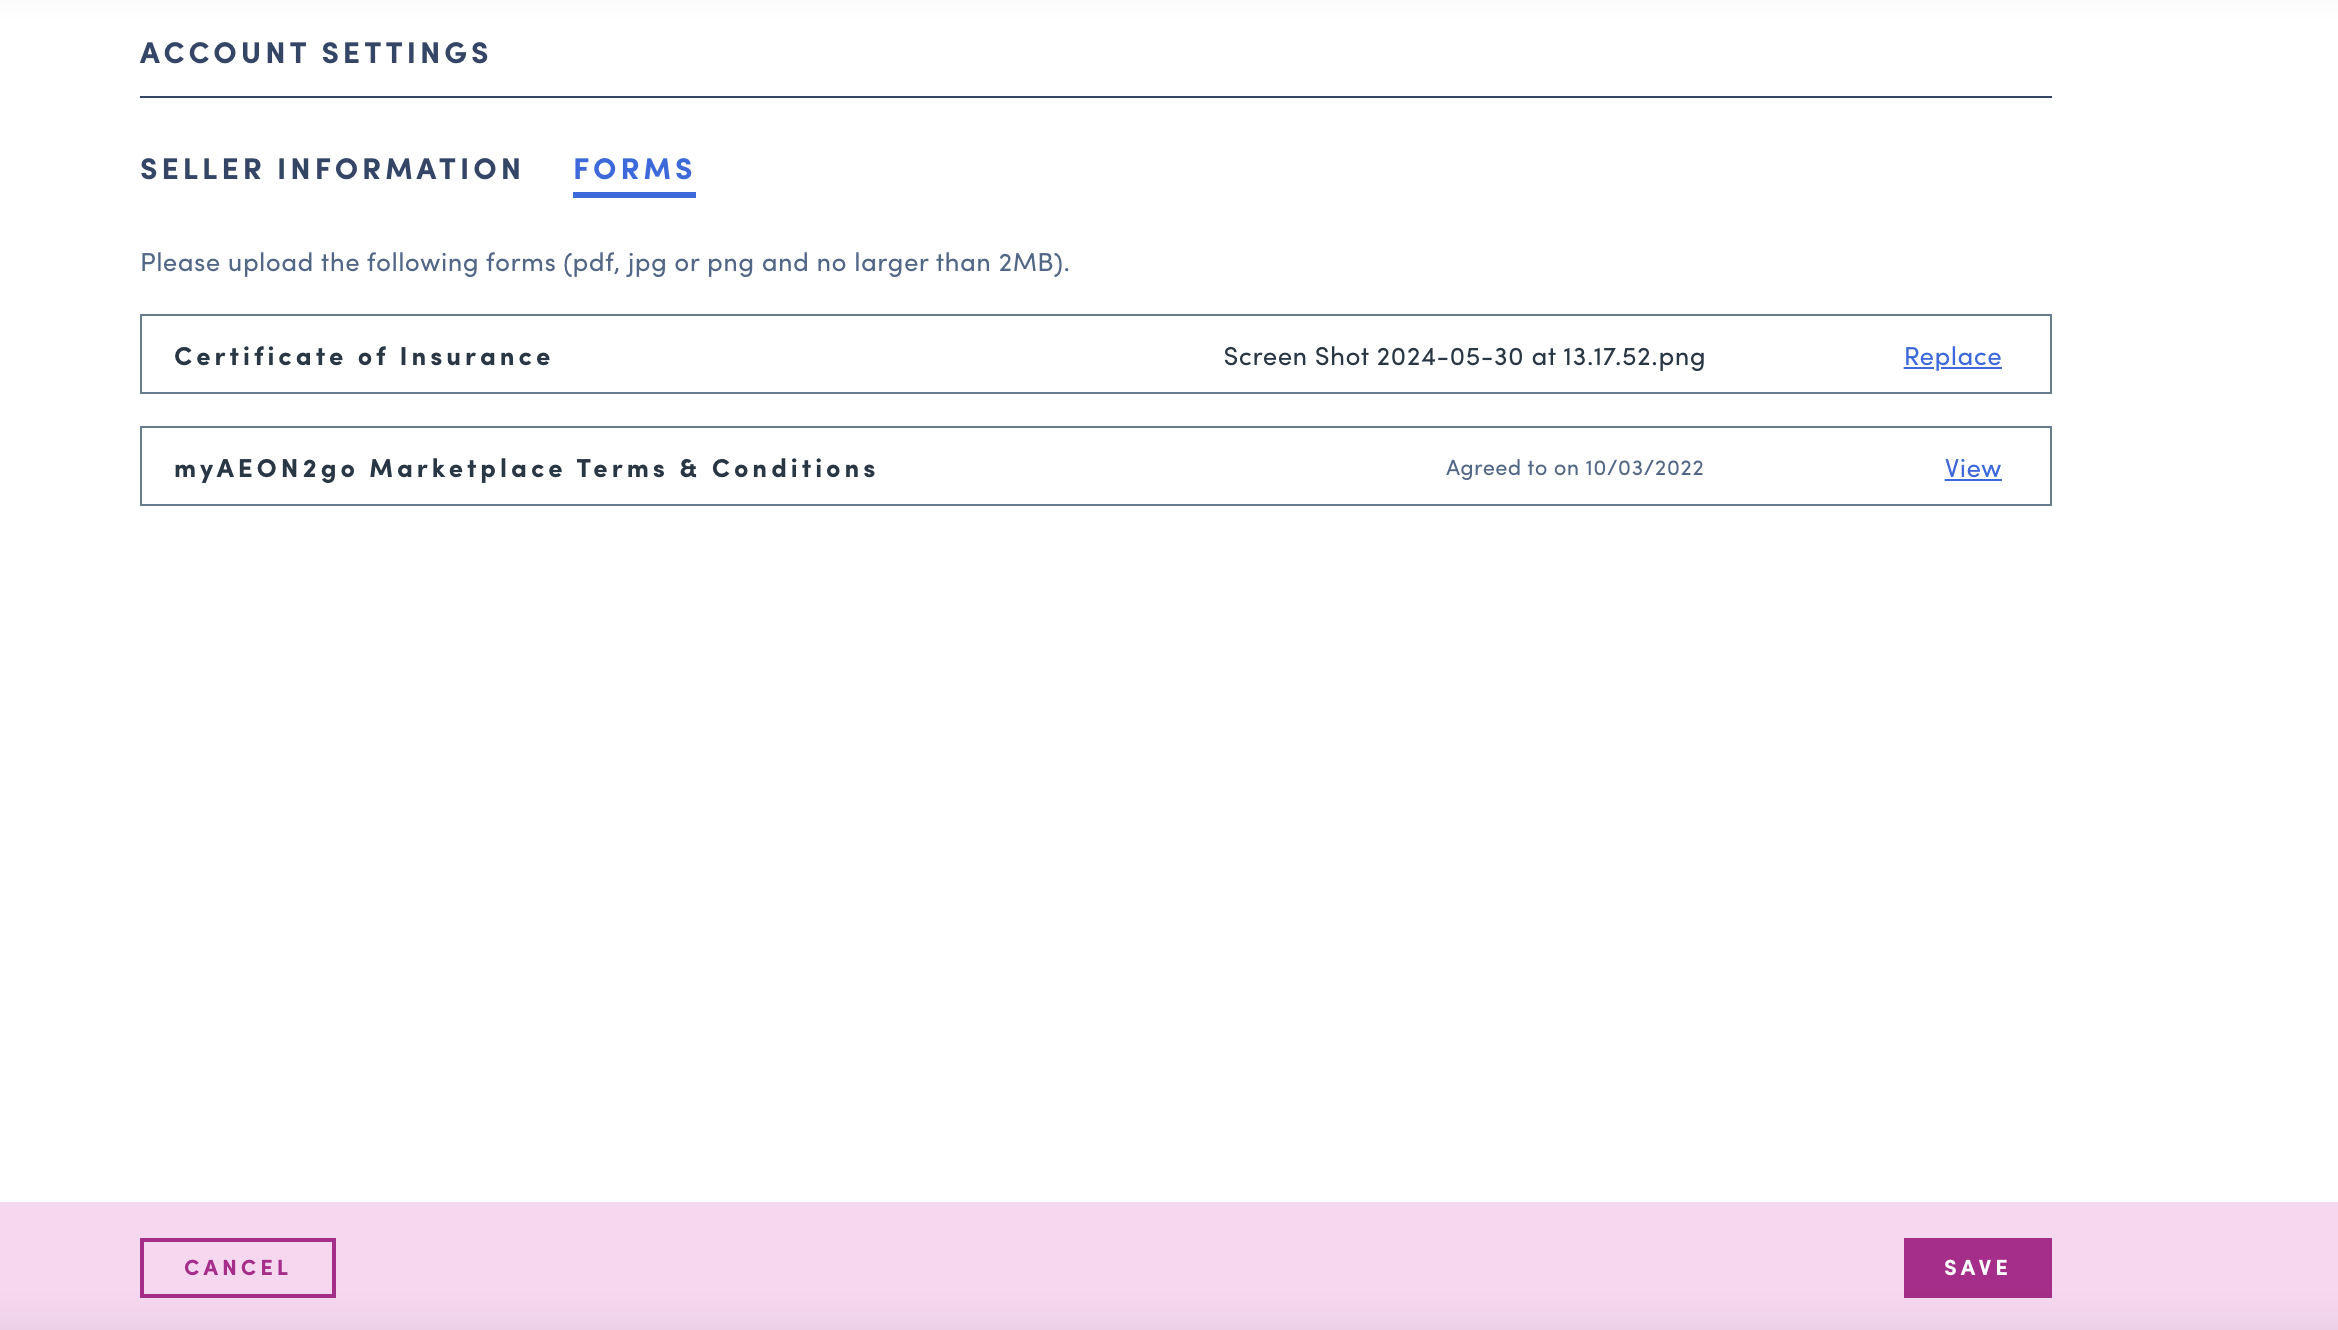
- Seller to upload Certificate of Insurance
- Seller to view Marketplace Terms & Conditions
-
Login/Logout
As a seller, I am able to login and logout of the Seller Portal.
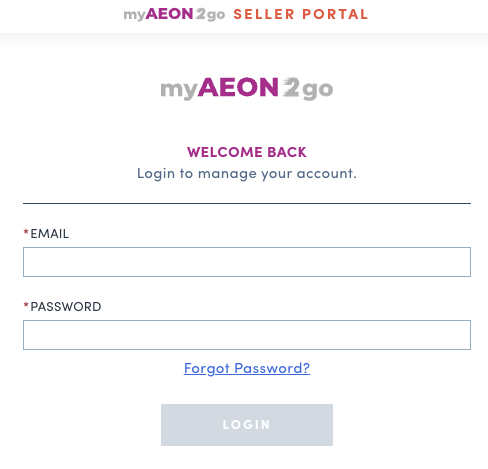
- Login:
- Seller need to use the email and password which is set up via Invited Email to login. See how to set up account here.
-
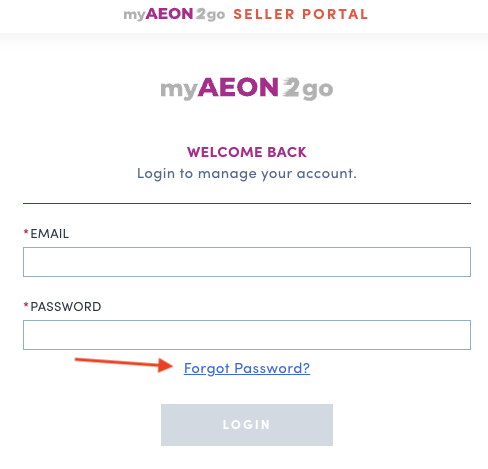
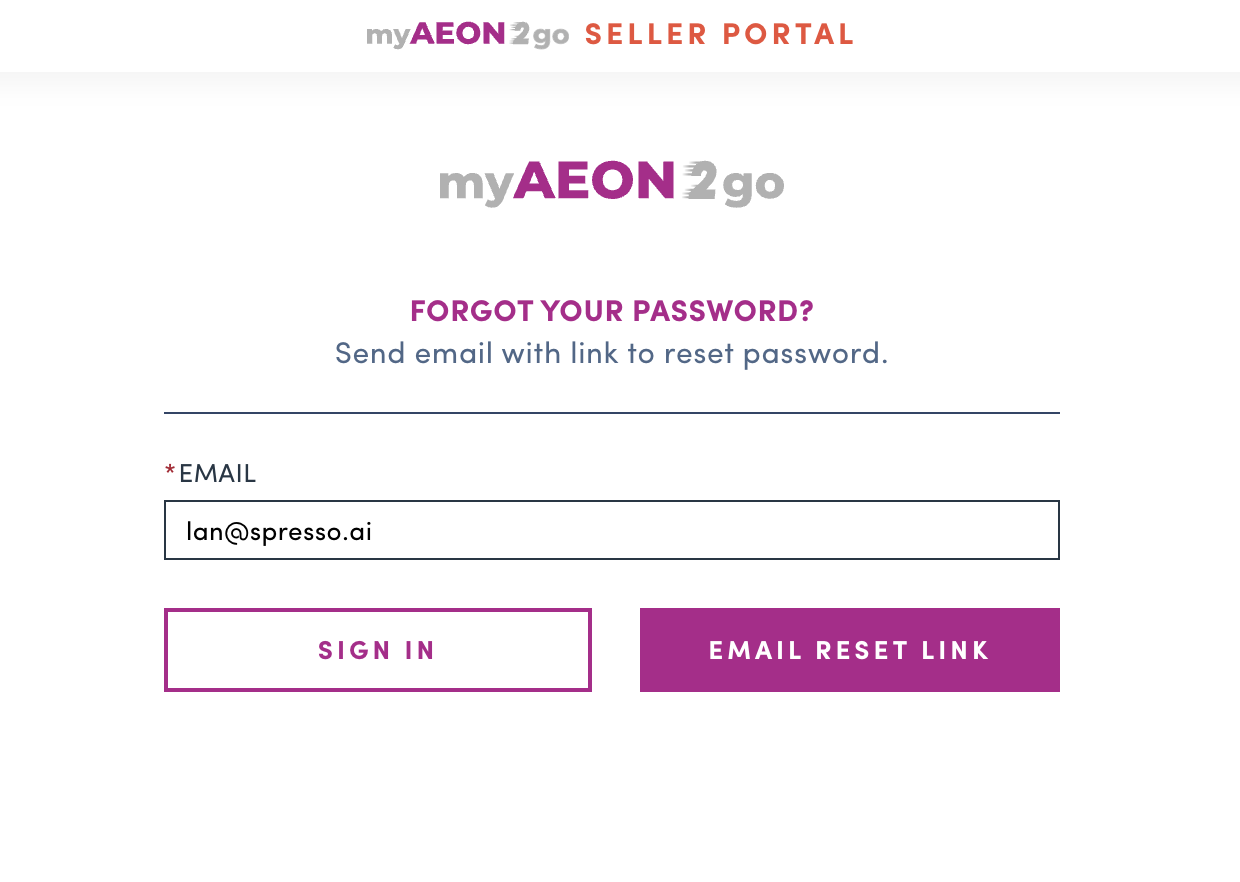
Reset password:
- Click on Forgot Password link on Login page
- Enter email to receive reset password link
- Click on Email reset link button
- Open the reset password link sent to Email to change password
-
Logout:
- Click on Seller account on the top right of Seller portal
- Click on Logout
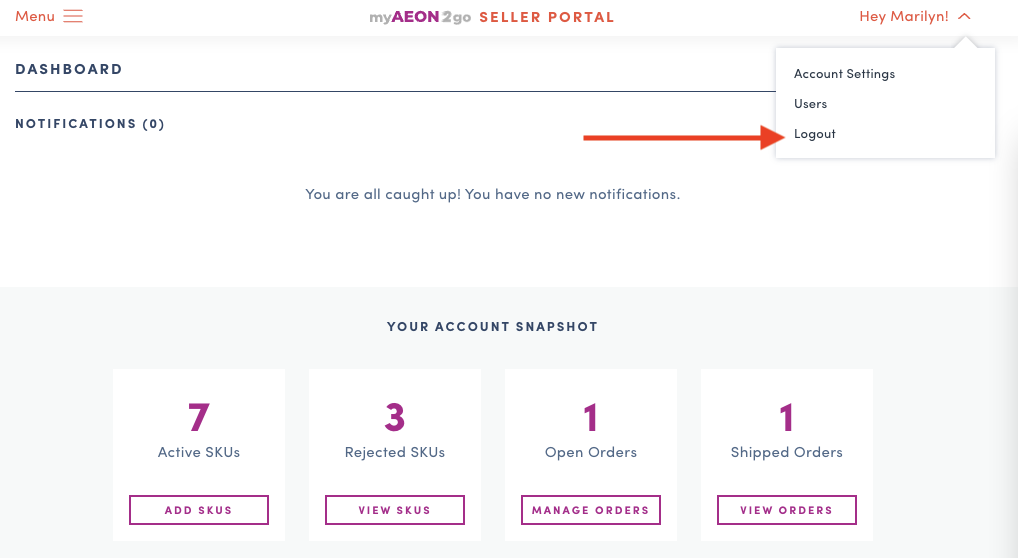
Account setting
- As a seller, I am able to view/edit seller information and forms
Note: Seller information is captured for internal use only. This is not visible to customers. - Go to Seller account on to top right of Seller portal > Account setting
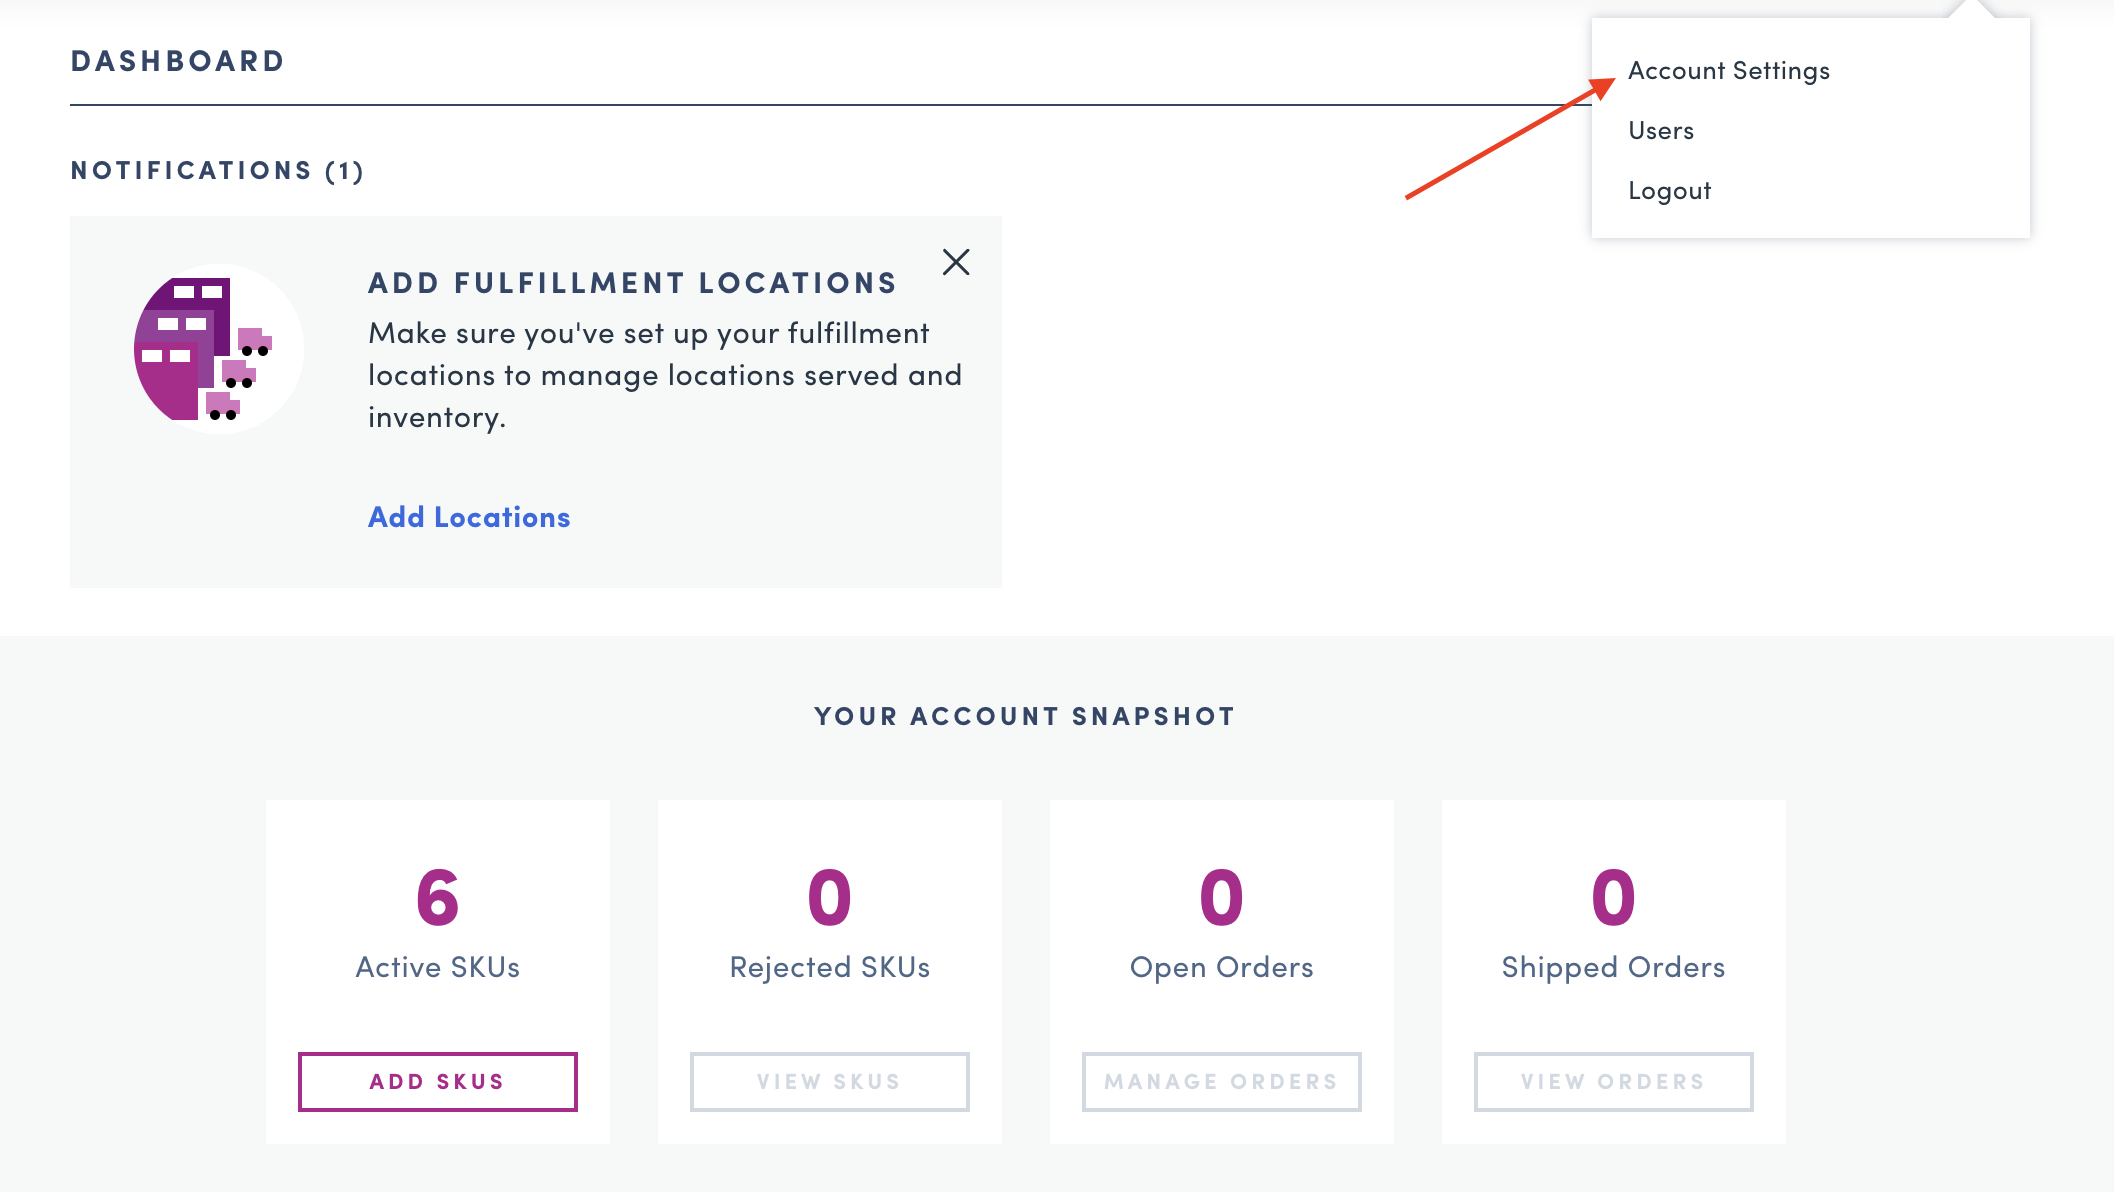
- View/Edit List of seller information in Seller Information tab
- Click on Edit button to edit seller information
- Click on Save after editing to update seller information
-
View/Edit List of uploaded forms in Forms tab
- Click on View to view uploaded Certificate of Insurance and Marketplace Terms & Conditions
- Only Certificate of Insurance can be updated, click on Replace then upload a new file to replace the current file. The file should be pdf, jpg or png and no larger than 2MB
- Click on Save button to save the updates

Invite new seller
As a seller, I am able to invite new users to join the team
-
Steps add new user
- Go to Seller account on to top right of Seller portal
- Click on
Users - Click on
Add New Userbutton - Alternatively, click on Hey Name! > User to access User page
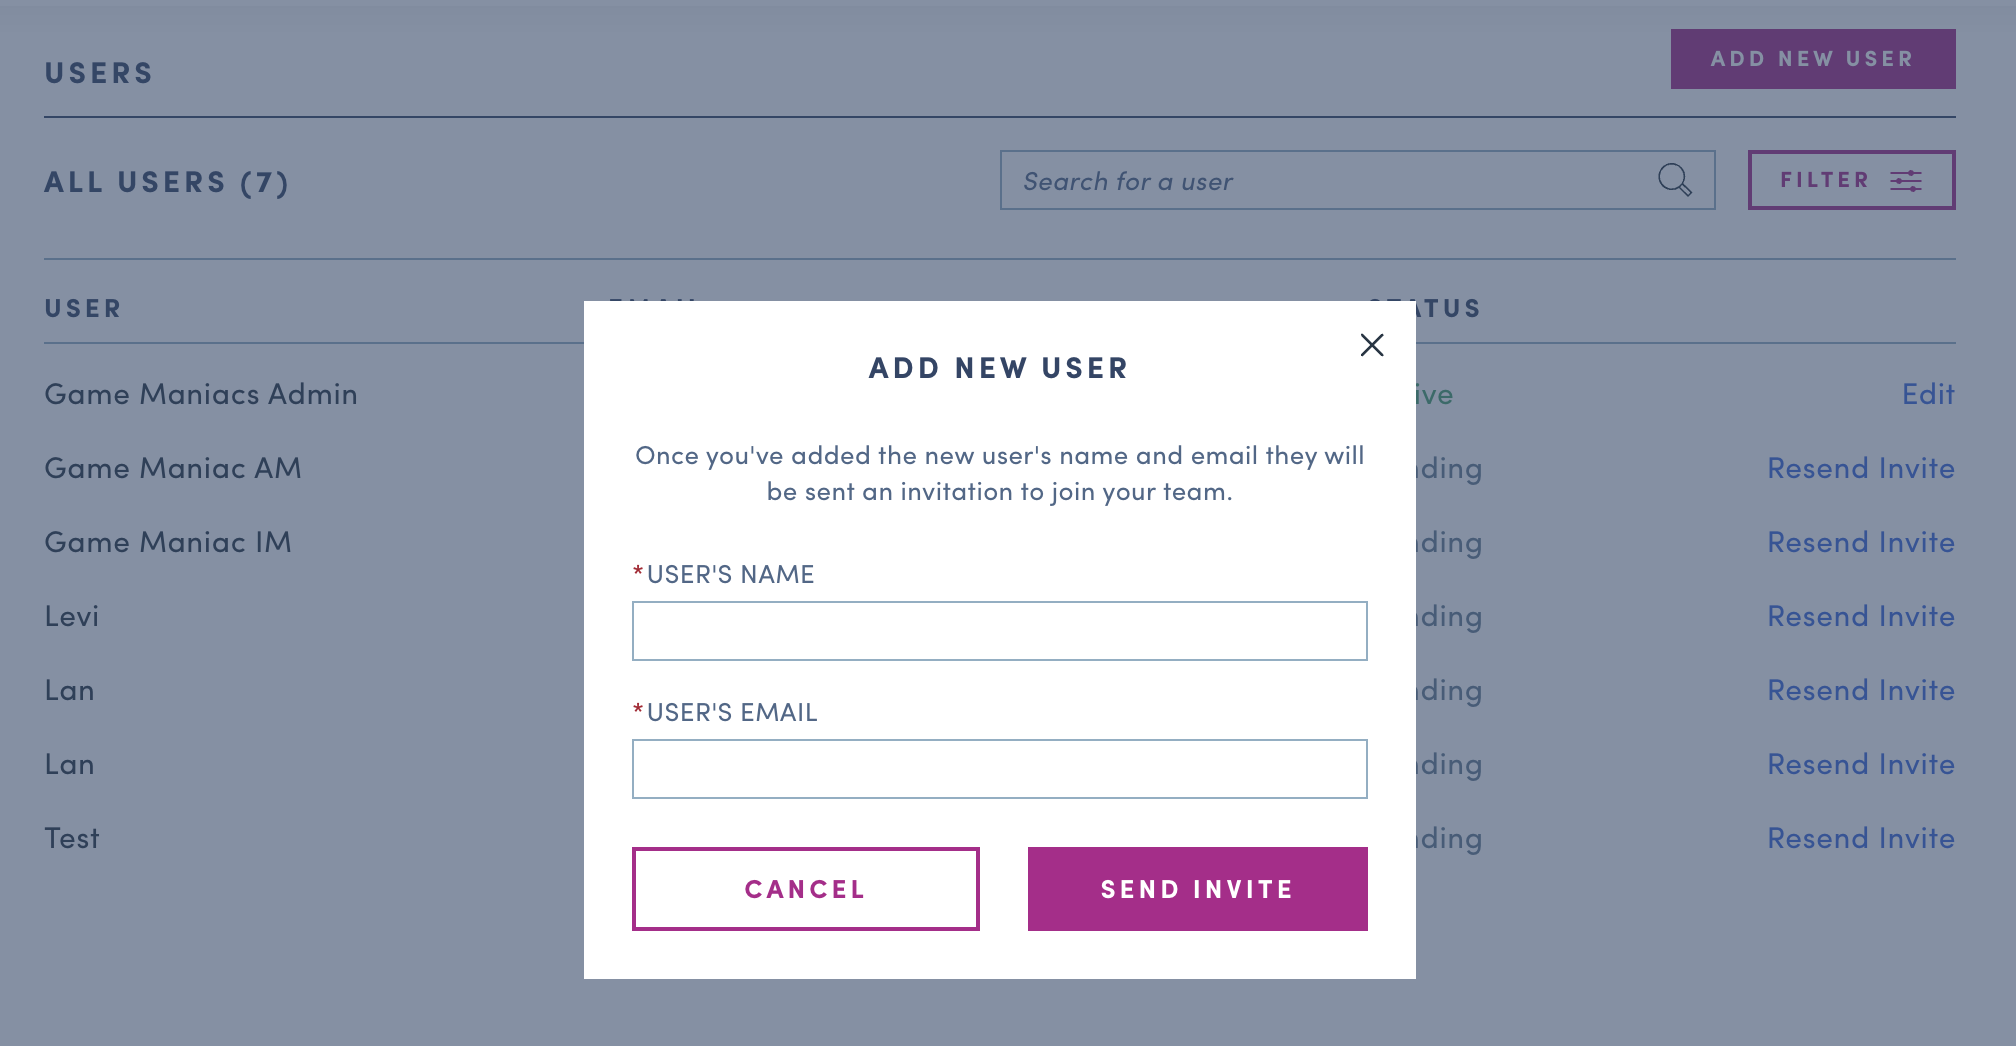
- Click on ADD NEW USER on the top right corner
- Insert
USER’S NAMEandUSER’S EMAIL - Click on
SEND INVITECTA button - Follow flow here
-
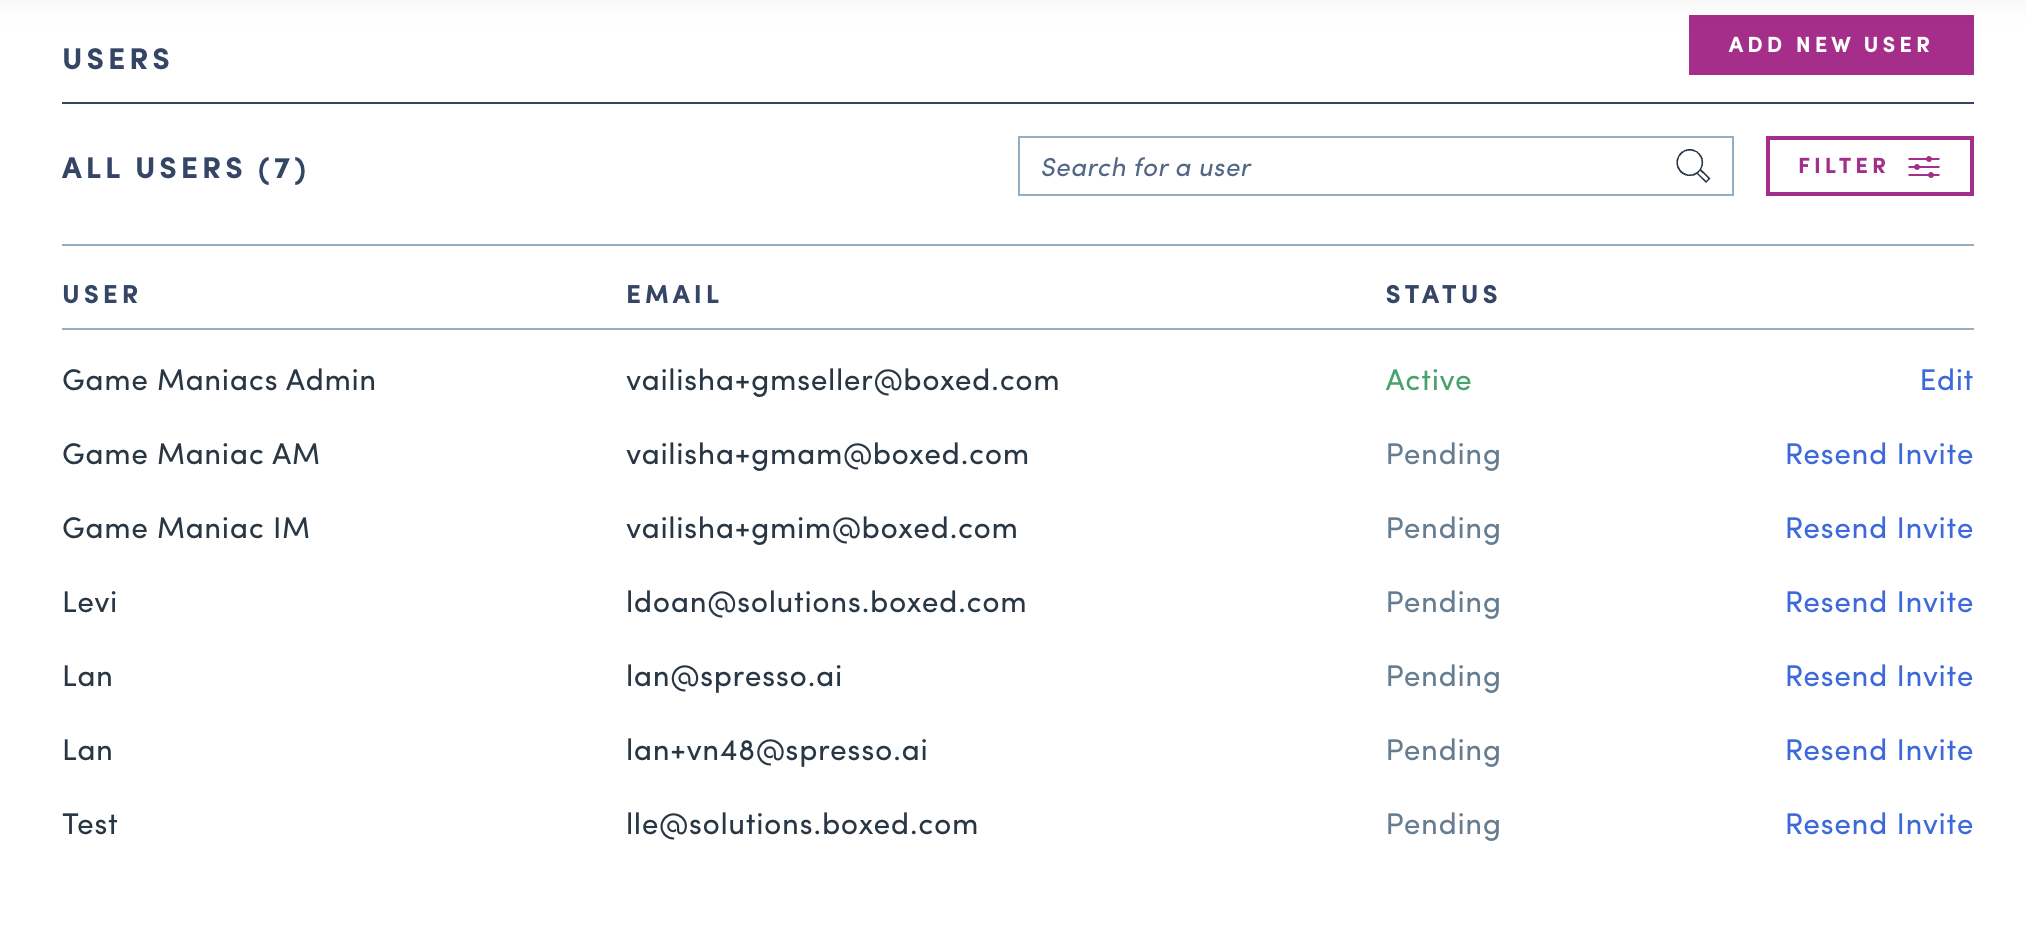
New User Active/ Pending status
- Status will show Pending if the new user has not accepted the email invite
- Status will show Active if the new user has accepted the email invite
Updated about 1 month ago