
Variant Values, Relations, Tags
Variant Values
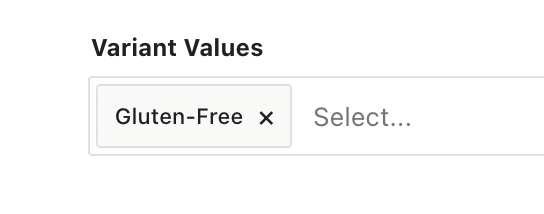
Variant Valuesare curated tags given to a variant that fuel theShop By Specialtytab on the PDPShop by Specialityshows carousels of products with the same variant values
Variant Values: List View
Name: The name of the Variant Value.- This name is the tag that must be entered in the
Variant Valuefield underVariant Detailson the specific Variants page.
- This name is the tag that must be entered in the
Enabled: Enabled if it is an active Variant Value.
Variant Values: Create
- Click
Create Variant ValueCTA on top left of the list view Name: Add the name of the Variant Value.- This name is the tag that must be entered in the
Variant Valuefield underVariant Detailson the specific Variants page.
- This name is the tag that must be entered in the
Enabled: Check to activate- Click
Create Variant Value
Note: Assigning specific Variant Values to an item must be done on the individual Variant Page.
Variant Relations
- Variant Relations are manually merchandised tags of related products that can be used to fuel recommendations or upsell carousels (ie, customer may also like, frequently bought together).
Variant Relations: List View
User needs tosearch to populate items on the page and toggle to add fields.
- Search Options
- Search by
Variant Name or GID #- This will display that individual variant
- Select a
Classificationand search- This will display all of the variants within that classification
- Select a
PDP Groupand search- This will display all of the variants within that PDP group
- Search by
- Toggle Column Options
Related: This will add a field where a user can enter related items- Related Items are items similar to each other (ie, chunky peanut butter is related to creamy peanut butter).
- This can help fuel a
"You Might Also Consider"carousel
- This can help fuel a
- Related Items are items similar to each other (ie, chunky peanut butter is related to creamy peanut butter).
Twin: This will add a field where a user can enter twin items- Twins are when one item is being discontinued and being replaced with a new version of that exact item.
Replacement: This will add a field where a user can enter replacement items- Replacement Items are something very similar that could be displayed as a replacement if one item went out of stock. (ie, one peanut butter brand vs. a different peanut butter brand).
Compliment: This will add a field where a user can enter complimentary items- Compliments are items that are frequently bought together (ie, jelly or bread is a compliment of peanut butter).
- This can help fuel a "
Customers Also Bought" carousel
- This can help fuel a "
- Compliments are items that are frequently bought together (ie, jelly or bread is a compliment of peanut butter).
Variant Relations: Create and Update
Searchfor the variant(s) that you would like to add variant relations to- Select the
Toggle Columnsthat you would like to set up- The selected fields will appear on the left side of the main screen
- In each field, search the applicable variants and press enter. These will automatically save after you enter.
- If you want to remove,
Xout the individual added variant.
- If you want to remove,
Tags
- Tags are internal taxonomies that can be created as a more granular and comprehensive way to categorize products. Tags can be used for reporting purposes and they can also be included in recommendation models.
- Tags are added to a product under the
Factionssection of theProduct Pageduring product set up. - Creating tags creates new factions, which can be used for Product Icon Configs
Tags: List View
Edit: Pressing this allows a user to edit an existing tag / tag taxonomyName: The name of the tag / tag taxonomyEnabled: If the tag / tag taxonomy is enabled. If enabled, this tag / tag taxonomy will display under Factions on the Product Page.Delete: Pressing this will deleted the tag / tag taxonomy
Tags: Create and update
-
Click
Create TaxonomyCTA on top left of the list view -
Root: Add the Name of the tag / tag taxonomy you are creating -
Press the
+(plus sign) underL1to add a Level 1 Tag- You can add as many L1 tags as necessary
-
After adding an L1 tag, the option will pop up to add L2 tags. Any L2 tag added here will be nested under its corresponding L1 tag. The same goes for L3's and L4's etc.
- Pressing the
garbage canicon will delete that tag and all of the tags nested underneath it.
- Pressing the
-
Preview: Will display a taxonomy tree of all of the created tags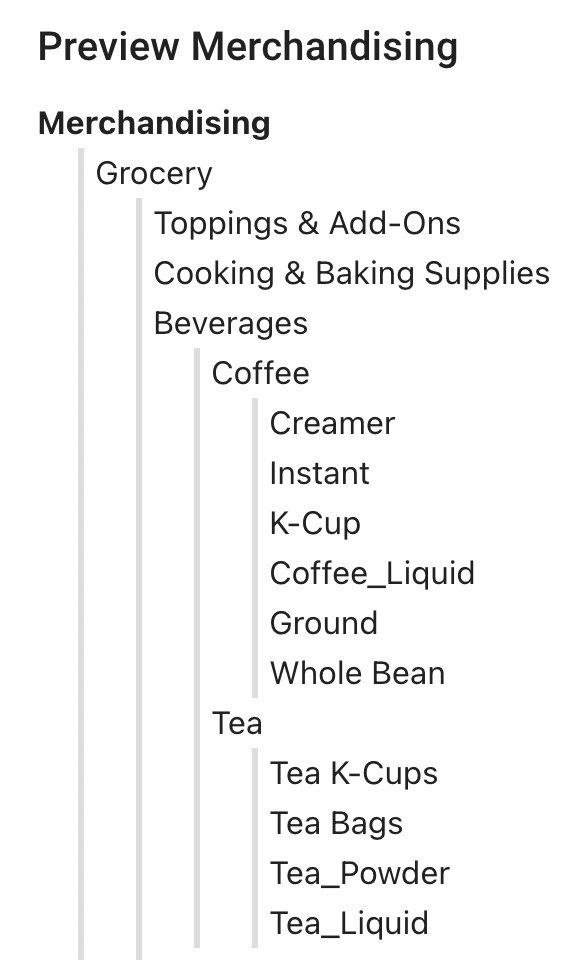
-
Download CSV: Will create and download a CSV file of the taxonomy of all of the created tags -
To save tags / tag taxonomy press
Create Taxonomyon the bottom right
Updated over 1 year ago