
Promotions
As a Foxtrot admin user, I can manage and create different promotions for web and mobile app application.
Overview
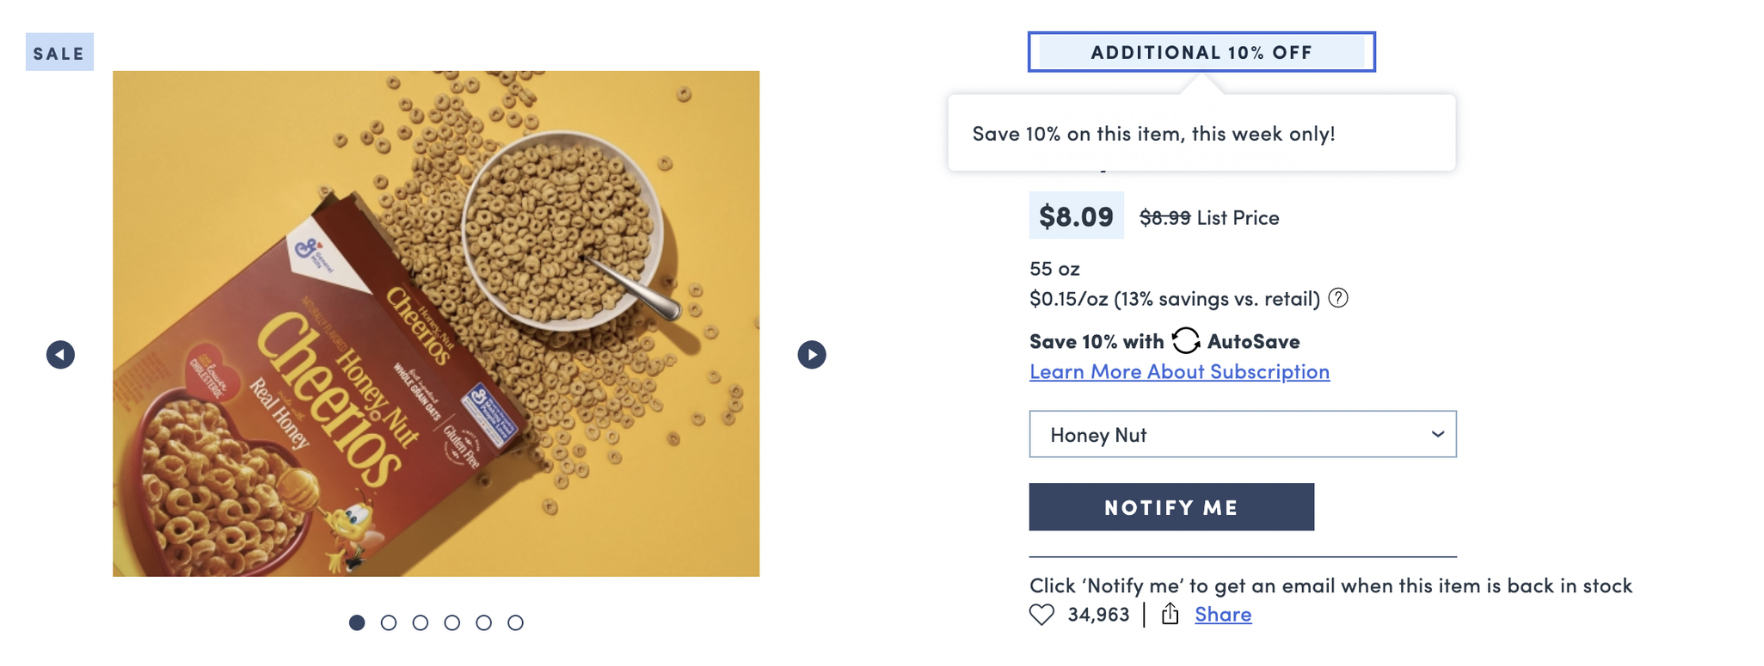
Promotions are percent or flat discounts applied to select items that are on sale. Promotions are typically displayed with a sale treatment including a strikethrough on the full price.
Promotions must first be created through a Marketing Campaign. To manage promotions after they are created, navigate to the Promotion page in Foxtrot.
Promotions: List View
When a user navigates to the Promotions page, user sees a list view of all created Promotions.
Name: The internal name a user can give for the promotionEnabled: Shows if the promotion is activeDiscounts: The discount amount the promotion gives to the customer. This is either a flat (dollar off) or percent (percentage off) discount.Start DateandEnd Date: Shows the dates the promotion is live and visible by customersShow as Sale: If the item is visibly on sale to the customerLimitations: Shows if there is a limit per user for each promotionTargets: Shows the specific variants that are tied to the promotion
Search and filter by the below fields to view a select promotion:
- Search and filter by
Name. - Search and filter by
Enabled. If the promotion is enabled or not. - Search and filter by
Current/Upcoming. If the start and end dates are within the current time frame or in the future.
Promotions: Create and Update
Under corresponding Marketing Campaign, navigate to the Promotions tab
- Select
Create New Promotion
Scope
Scope: Can scope by all typical segments. If no specific scope, leave as global.
- If scoped, promotion will only apply to users who fall within the scoped segment.
Details
Name: The internal name for the promotion.Enable: Check to activate the promotion. If this is not checked, even if the promotion is within the start & end dates, it will not be live.Show As Sale: Check this if the display of the item on site/app should include a 'sale' treatment. This includes a strikethrough on the full price and a dynamic display of the percentage off the full price.Countdown timer on PLE: Check this to include a countdown timer display on the PLE for items included in the promotion.Countdown timer on PDP: Check this to include a countdown timer display on the PDP for items included in the promotion.- Timers will reference end date of that promotion
- Timer copy on PLE will display: 'Ends {XX:XX:XX:XX}'
- Timer copy on PDP will display: 'Hurry! Ends in {XX:XX:XX:XX}'
- Priority: Use if one product is in multiple promotions with a timer enabled. The higher number means higher priority for that countdown to display.
Discounts
Variants: The variants that the promotion will apply to. Add by searching individual variants or add multiple variants by csv.- CSV upload has a max limit of 5000 variants
Products: If the promotion should apply to certain products, search and add here.Categories: If the promotion should apply to certain categories, search and add here.Brands: If the promotion should apply to certain brands, search and add here.Percent Discount: The percentage off that the promotion will applyFlat Discount: The dollar off amount that the promotion will apply
Limitations
Start DateandEnd Date: The dates the promotion is live and visible by customersLimit Per User: The number of times a user can checkout with a promotion. Keep field empty if there is no limit.
Marketing Reporting
Marketing Campaign:Will auto-populate to show the marketing campaign the promo code is associated with since you have to be within a marketing campaign to create a promo code.Channel:Select the channel where the promo code is going to be distributed. Unless it is for a specific marketing channel, selectOnsite / In App. This is for internal use only.Marketing Leads:Internal stakeholder managing the promo code. This is for internal use only.
If applicable for your organization, select P&L Allocation and Transaction Type for reporting purposes.
Campaign Badge
Enable Badge: Check box If you want to add a campaign badge to an item in the promotion
Show in PDP: Checking this will display campaign badge on the PDP
Show in PLE: Checking this will display campaign badge on the PLE

Priority: Defaults to 0. The only time you would change this is if one item is included in multiple promotions and you want to prioritize which badge to show. The higher the number, the higher the priority.Text: This is the message that appears when a user hovers over the campaign badgeCampaign Badge: This is where you can upload the campaign badge that will display on the PDP/PLE- Image size: 872 × 96
Promotion Stacking
If there are multiple promotions for one product, the promotions will stack on top of each other:
- If there are multiple % off discounts: The first discount is applied on the full price and then the second discount is applied on the newly discounted price. This ensures that the order in which the discounts are applied does not matter.
- If there are both % off + flat discounts: The flat discount is applied first and then the % off is applied. This ensures that the total combined discount is minimized.
Additional Information
- Newly created promotions with an instant start timestamp can take ~30min to reflect
- You can utilize the campaign badge feature without setting a promotion discount. Simply add the variants and upload your campaign badge. The campaign badge will display without any promotion applying.
Updated over 1 year ago