
Phone Orders
This feature is only applicable if enabled for your organization.
As an admin user, I can place orders on behalf of the customer.
Search for the customer
As a first step, check if the customer has an existing account. If not, create an account on their behalf to start the process.
- Go to Client Users to search for the customer’s account
- If the customer doesn’t have an account, create a new account by following the steps here:
In the event the customer does not wish to provide an email for the new account / doesn’t have an email, you can use a dummy email syntax such as: [email protected] (e.g. [email protected]
Confirm the customer’s delivery address
Next, confirm or set the customer's delivery address in order for the customer to be mapped to the correct store.
- Open the customer’s Client User page and go to the
Addressestab - Confirm if customer would like to use an existing address or add a new address for the customer
- If using existing address, click “Set as Default” if desired address is not the current default
- If adding new address, new address will be automatically set as default
- The address set as default will be used for the phone order
- See guide here on Client Users > Addresses
Add items to cart
After confirming the address, proceed to add items to the customer’s cart
- Go to the
Phone Ordertab on the customer’s Client User page
💡 Existing customers may have existing items in cart. Check with the customer if they want to keep existing items in cart or clear the cart before proceeding - Search items by GID or name
- Items will be added to cart with the following information: GID, image, name, variant price, quantity, total price, inventory
- Cart is broken out by fulfillment method:
- Express Delivery / Collect At Store
- Standard
Out of Stockmention will display when there is no inventory. Out of stock items must be removed before proceeding to checkout- Subtotal shows the order’s subtotal prior to delivery fees and promos
- Cart is broken out by fulfillment method:
- Click on “Proceed to Check Out” once all items have been added. You can return to the cart at any time
Complete checkout
- After clicking “Proceed to Check Out”, popup window opens with checkout information
- Customer’s default address will be used to create the phone order
- Fill out checkout information based on the customer’s input:
Express Delivery / Collect At Store Section: only applies if customer has Express items in cart- Delivery Type: Delivery or Collect at Store
- Delivery Date and Time
- Phone Number
- Delivery Instructions
Standard Section: only applies if customer has Standard items in cart- Delivery Instructions
VAT Section: If the customer would like to receive a VAT invoice, select theRequest VAT Invoicecheckbox, if not, leave box unchecked and proceed to next step. Only applicable if your organization uses VAT.- If a customer has previously requested a VAT invoice, the form will be pre-populated with their saved VAT invoice information. If a customer has not requested a VAT invoice before, the personal form will be pre-populated with their first & last name and email address
- To update the VAT invoice information select
PersonalorCompanybased on the customer’s input:- Company form:
Tax Code: Input tax code and select lookup to pre-populate the form- If the tax code is not found, the customer can proceed with manual inputted information for
Company Name,Address & Ward,District, andCity - If a tax code is found, the
Company Name,Address & Ward,District, andCityfields will be pre-populatedAddress & Ward: The address and ward should be separated by comma if manually inputted
Email Address: Enter the email address that the customer would like to receive the invoice based their inputConsent: Ask the customer to consent that the information is correct and select the checkbox upon confirmation
- If the tax code is not found, the customer can proceed with manual inputted information for
- Personal form:
- Enter the following fields based on the customer’s input:
First Name,Last Name,Address & Ward,District, andCityAddress & Ward: The address and ward should be separated by comma
Email Address: Enter the email address that the customer would like to receive the invoice based their inputConsent: Ask the customer to consent that the information is correct and select the checkbox upon confirmation
- Enter the following fields based on the customer’s input:
- Company form:
Payment Section- Apply promo codes if applicable
- Select relevant Payment Type (same payments as the website/mobile apps)
- Order pricing summary is displayed on the screen
- Price modifiers will automatically apply (if applicable)
- Click “Submit” to create the order
- You will be redirected to the Order’s Detail page (from Foxtrot Orders)
- For Cash on Delivery, order is created immediately and no further action is needed from the customer
- For other payment methods, order is created and in Pending Payment status until customer completes payment
- Payment link is generated after the order is created and must be shared with the customer
- Cart is cleared after the order is placed
Send payment link to customer
- After placing the Phone Order, admin user is redirected to the Order’s Detail page (from Foxtrot Orders)
- For credit card and e-wallet, order is created with financial status
Pending Paymentand admin user must collect payment from the customer- Payment link is generated and displayed under Order Transaction Status with the following information:
Type: Payment method selected by the customerTransaction: Available once payment is completedStatus:- Shows “Payment Pending” when the customer hasn’t paid yet
- Shows “Authorized” once the customer has paid
Amount: Amount that the customer must payPayment Link:- Shows “Copy Payment Link” button after order is placed and after link is generated, which allows admin user to send the link to the customer (see next section)
- Shows “Payment Link Expired” once link has expired
- Expiration for Payoo: 1 hour
- Expiration for iPay88: 8 minutes
- Shows “Not available” once order has been paid
Payment Link Last Generated: Shows when the payment link was generatedPayment Link Expiration: Shows when the payment link expires (within one hour)
- Customer has 60 minutes to complete payment before the order updates to
Payment Not Successful- Phone order must be placed again after the order updates to
Payment Not Successful
- Phone order must be placed again after the order updates to
- Share the payment link with the customer by clicking “Copy Payment Link” to clip the following message:
Thank you for placing your order with {platform_name}. Click on the link below to make your payment. The link expires in X time. [Link URL is inserted here]Expiration time depends on your payment gateway- Expiration for Payoo: 1 hour
- Expiration for iPay88: 8 minutes
- Link must be shared manually with the customer to complete payment
- Admin user can copy paste the message on WhatsApp, email or any other communication method
- Link will open payment gateway's page for the customer to complete payment
- After customer completes payment, page will automatically redirect to the website. The customer can close the tab at this point
- Admin users can generate new links at any time by clicking “Generate New Payment Link”
- New payment link will be displayed and can be sent to the customer
- 📣 Customer must only pay one time, paying on multiple links can result in multiple payments
- This button disappears once a successful payment has been received
- Once payment is completed, the payment’s status under Order Transaction Status will display
Authorizedand the order’s financial status will displayAuthorized- 📣 Make sure to refresh the page to see the most up to date information
- Customer will receive an order confirmation email
- Payment link is generated and displayed under Order Transaction Status with the following information:
- For Payment on Delivery, order is created with financial status
Deferredand no further action is needed from the customer- Customer will receive an order confirmation email immediately after order creation
- Admin user can view details about the order on the Order Details page
Identify orders created via Phone Orders on Foxtrot
-
On the Orders list view, filter by
Internal Admin User Ordersto view orders created via Phone Orders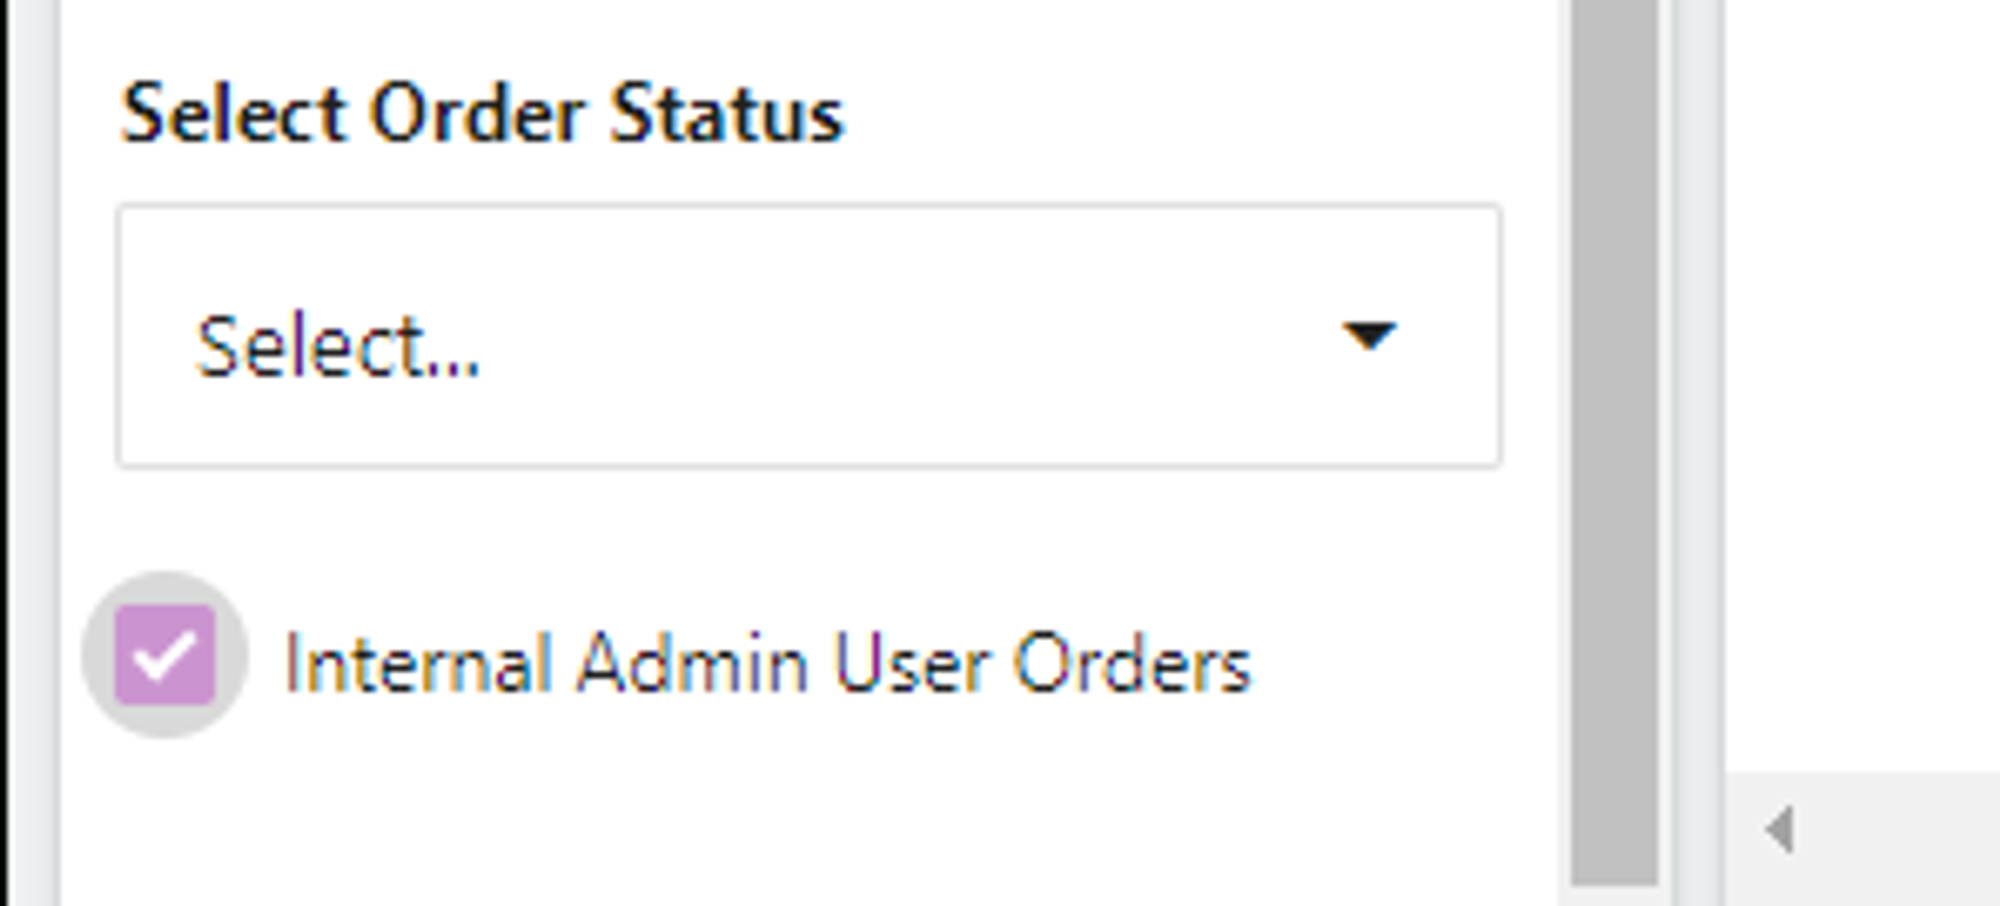
-
On the Order Detail page > General Details Tab:
-
Order Source: “Internal Admin User” will be displayed for phone orders -
Internal Admin User: will display email of the admin user who created the phone order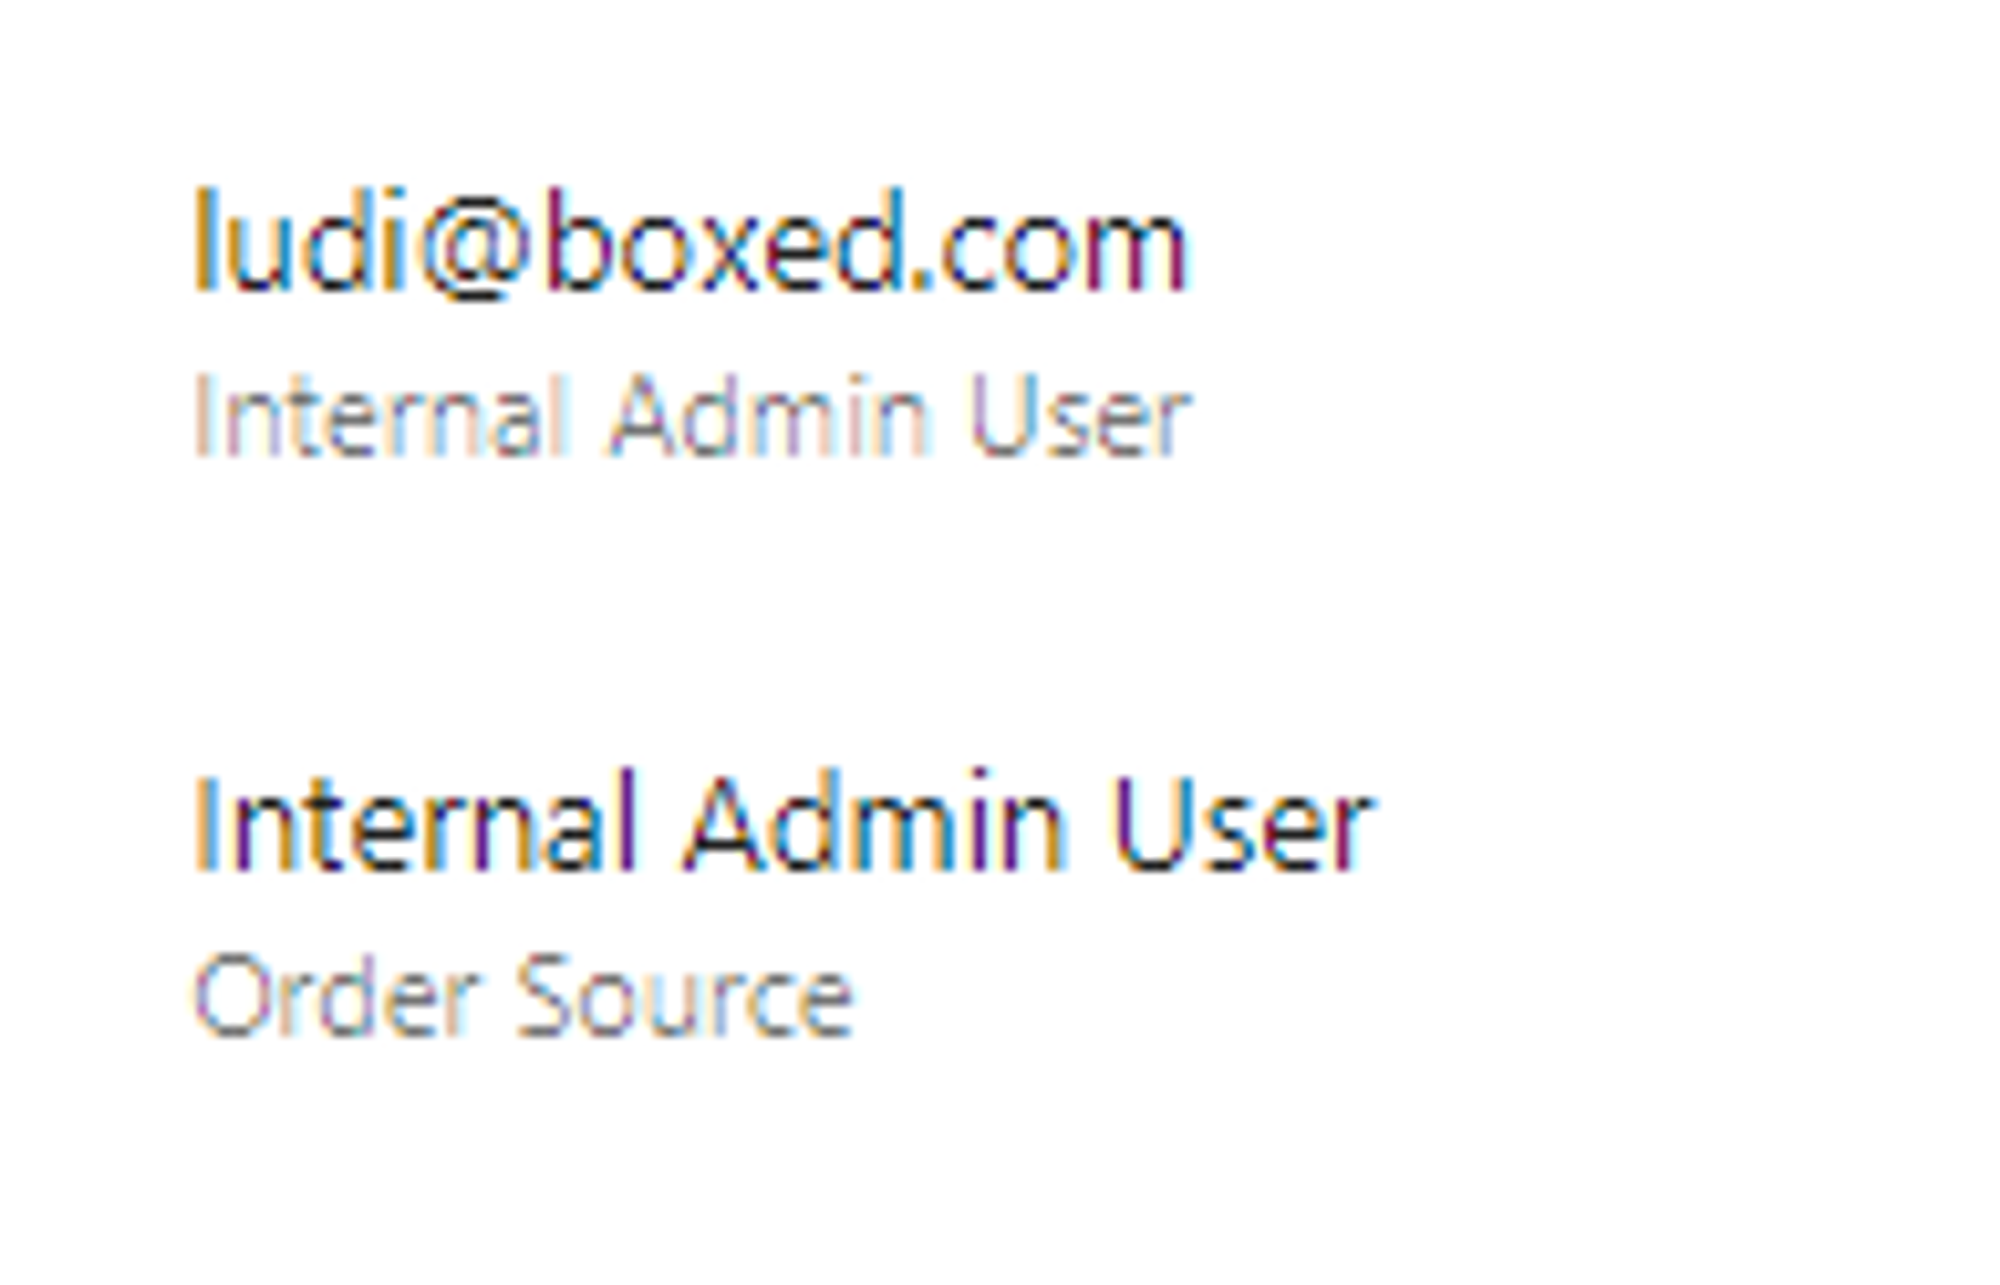
-
-
On the Client User Detail page > Order History Tab:
Order Source: “Internal Admin User” will be displayed for phone orders
Updated over 1 year ago